TF201, nvflash and the JellyBean OTA Bootloader

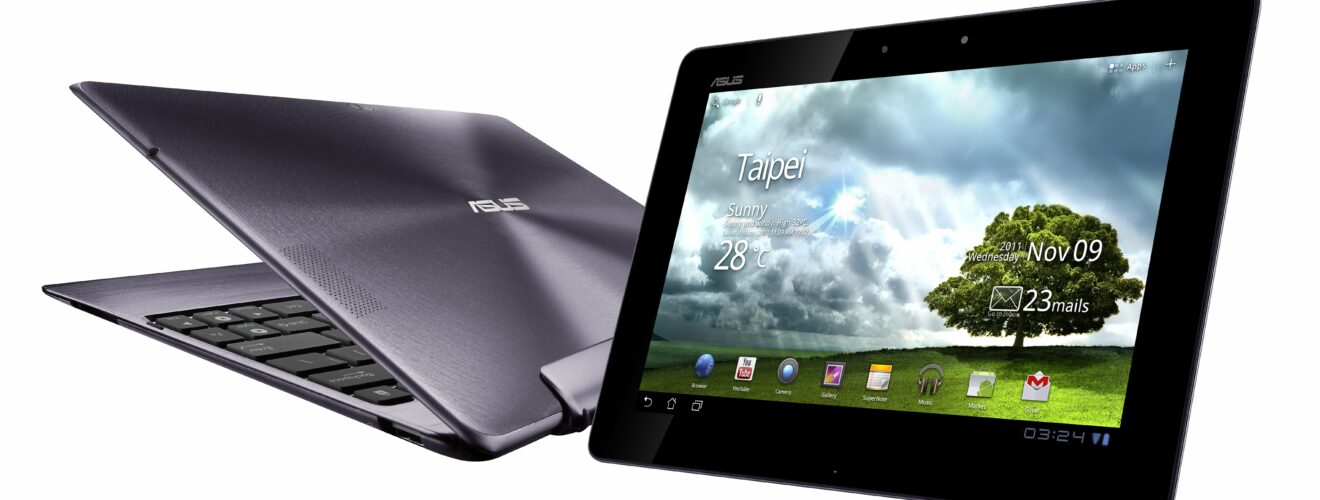
Ever heard about nvflash? No? Then you probably never flashed or rooted your Asus TF201 tablet.
nvflash is one of the biggest “must have” if you’re going to flash or modify your own TF201 in any way. If you ever manage to brick your tablet you can mostly recover it with nvflash.
Happily I never had to use it but just to be sure I’ve installed it on my Transformer Prime. In this post I’ll show you how to flash it!
So before we start some important warning:
This is ONLY for the TF201 JellyBean (HairyBean) Bootloader! DO NOT try this on any other Bootloader version!
If you want to root and unlock your TF201 with the latest OTA Update go check this XDA Post: [How To] TF201 Flash TWRP on JellyBean and Root
Thanks to the original post from flumpster on the XDA-Forum we now have one of the easiest and fastest methods to do this! The original post can be found HERE.
So, why are you mentioning all this here? Isn’t it completely easy to do?
Yes and No. First of all, if your TF201 was never before rooted, flashed or anyhow else modified you’re most likely on the latest JellyBean Bootloader provided by Asus. There is an official nvflash tutorial but I never got it to work, until someone mentioned probably one of the best and easiest method to do all this!
Why are you re-posting this here? Isn’t that disrespectful?!
I’m not doing this to disrespect the creator, no, it’s the complete opposite! I respect their amazing work. So why am I doing this? Because I know how fast the internet can be sometimes. Things will go under, sometimes people won’t find things again or a post just gets deleted without any hint where it has gone. That’s why I try my best to provide backup downloads too (besides the original downloads of course).
Okay, stop writing so much, come to the point!
Okay okay, let’s get started now :)
Things you need first:
- Root/Unlock your tablet (as mentioned above, HERE’s how to do that)
- A flashed HairyBean Prime AndroWook Bootloader (after unlocking only flash the “Upgrade Hairybean 2.31 (4.2.1) Bootloader & TWRP (2.5).zip” mentioned in the post
How to get nvflash working (original text HERE, backups from 04.03.2015):
Files you need:
- APX drivers (Backup 1, 2)
- ADB drivers (Backup 1, 2)
- nvflash-tools-win32.zipnvflash-tools-win32.zip (Backup 1, 2)
- flatline_tf300.zipflatline_tf300.zip (Backup 1, 2)
- adb-fastboot.zip (Backup 1, 2)
Instructions
- Create a folder on your hard drive called nvflash (e.g. D:/nvflash)
- Download the files above, unpack and place all files except the drivers in this folder.
- Hold down shift and right click on folder and select “Open command window here“
- Boot prime into fastboot by either selecting it from shutdown menu or by holding volume down and power when switched off.
Type the following into command prompt:
fastboot-windows.exe -i 0x0B05 flash recovery flatline_tf300.img
- This will flash the new recovery needed for the next part. Once that is complete type the following to restart the prime back into OS.
fastboot-windows.exe -i 0x0B05 reboot
- Once restarted go to the shutdown menu and select reboot to recovery. You will end up in a custom Clockwork mod recovery. Use volume keys to move and power button to select.
- Go into the “Advanced” menu and select the “Wheelie” menu.
Now you need to select the “Step 1: Flash AndroidRoot BL“. When it has finished the Prime will power off. - Press the power button to reboot and let the blue line fill all the way. When it has finished it will reboot into OS.
- Once restarted go to the shutdown menu and select reboot to recovery again.
- Go into the “Advanced” menu and select the “Wheelie” menu.
- Now you need to select the “Step 2: Generate wheelie blobs“
- This will now create your wheelie blobs onto the prime. The wifi upload did not work for me.
- Once it has finished go to the command window you have open on pc and type the following.
adb pull /data/media/AndroidRoot
- This will pull your wheelie blobs from the Prime into the folder you created earlier.
- Once you have them files hold down Volume UP and Power button for 10 seconds until the Prime restarts and keep holding them for a few seconds longer. The screen should stay blank and you should be in APX mode.
- Make sure you have the APX drivers installed by checking your device manager for any conflicts.
- Now type the following into the command window.
wheelie --blob blob.bin
- This will place you into NVflash mode and you then run the following commands.
 nvflash --resume --rawdeviceread 0 2944 bricksafe.img
 nvflash --resume --read 14 factory-config.img
 nvflash --resume --read 7 unlock-token.img
- These will create the last of your backups needed in the folder you created earlier. You need to back this folder up in triplicate as it is your lifeline if anything goes wrong in the future.
- Once it has all finished you can now hold the power button down on your prime for 10 seconds and let it boot back into OS.
You now have all your backups in that one folder and to finish up I would advise going back into the custom recovery and re-flash the “Upgrade Hairybean 2.31 (4.2.1) Bootloader & TWRP (2.5).zip” which will give you back your TWRP and newest Bootloader.


Also, thanks very much to EPICLPER for hosting all the files as well as archiving the tutorial (of course, many thanks as well to flumpster for the original post as well as the team behind NVFlash, you are awesome!). Fortunately, the last download option via Dropbox is still working, all other ones are not available any more, so good prediction to have those backup servers running. Cheers!
Everything worked flawlessly. If someone faces similar problems as me doing this on Windows 10 x64 (after the Anniversary Update) in the APX step and even before when installing the drivers, make sure to force Windows to accept the Universal Driver package. Read more over here: https://www.howtogeek.com/167723/how-to-disable-driver-signature-verification-on-64-bit-windows-8.1-so-that-you-can-install-unsigned-drivers/